

This page will guide you through the installation of LEGO’s official NXT software to program. It is a dated software but it still works and it is one of the easiest to set up.
1. What do you need?
- Windows Computer
- USB-A to USB-B cable
- NXT Brick
2. Downloading and Installing
Start by downloading the installer from this link.
Press the download button, and the download will begin. After some time, the .zip file will show up in your downloads folder:


Right click on the file and click Extract All, then on this page click Extract:

Once The Extraction is complete, this folder will appear in your downloads folder, open the folder, then double click on the Setup Application:


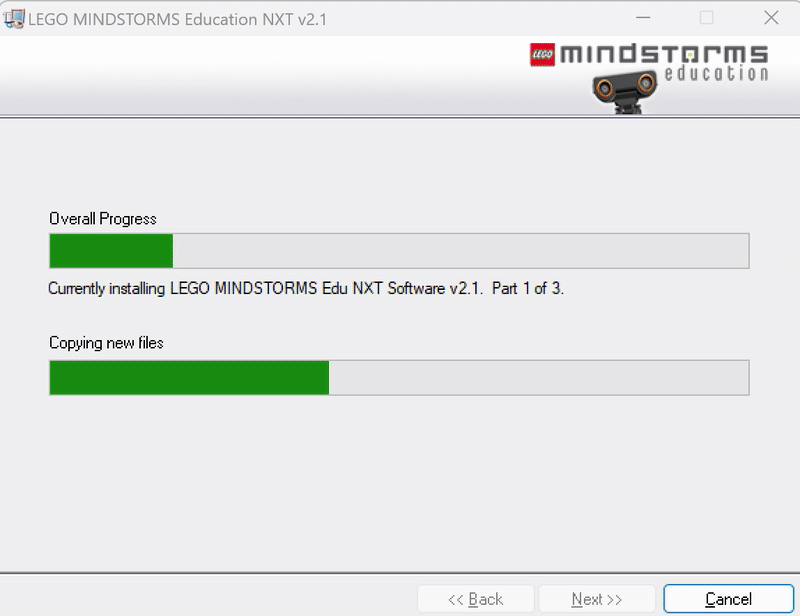
When prompted if you want to let the application make changes to your computer, click yes. Then this window will open, click next twice until you see the License agreement. Accept it and then click Next until the installation begins:


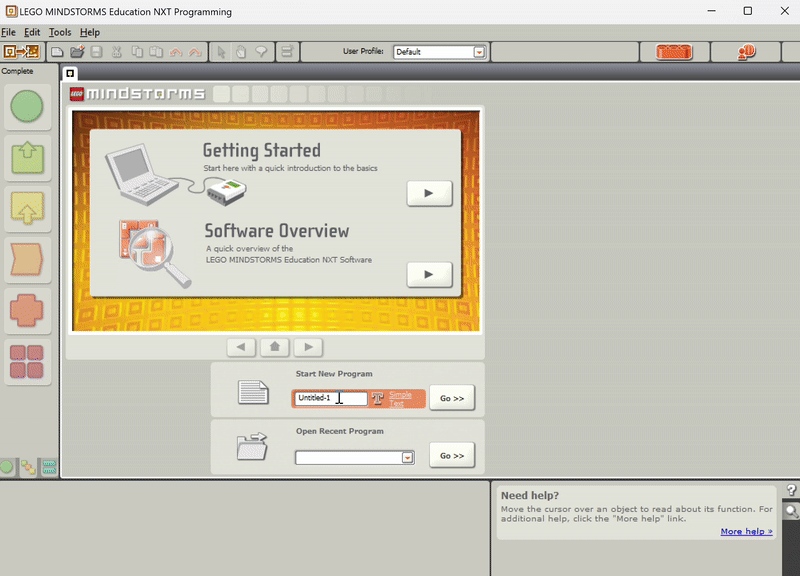
When the installation is complete, click Finish. The installation is complete, and you should be able to find a shortcut to the “NXT 2.1 Programming” application, you can use this app to program your NXT:

A second program, NXT 2.1 Data Logging will appear as well. This app is used for logging data from your NXT’s sensors to your computer. Both apps cant be open at the same time, and you can switch between apps once you open one of them.
3. Connecting Computer to the NXT Brick
Start by plugging your NXT into your computer using the USB-A to USB-B cable, make sure your NXT Brick is on:

Open the NXT 2.1 Programming application and create a new program:
To connect the Brick, click the button with the NXT Brick, then make sure your brick is turned on and plugged in. If it is, then your NXT should show up in the list of devices. Select your NXT and click Connect.


When Connected the page will say Connected under Status:

Once the hub is connected, you are ready to program!
.avif)

.png)


